

Add a logo or picture watermark to Word
Follow the illustrated image watermark workflow and learn how to preserve a logo's proportions, adjust visibility and inspect the converted Word file.
A picture watermark is useful when a document needs recognizable branding without repeating a full logo in its body. This tutorial creates a centered logo behind the text using Custom image mode. You can reproduce it with the sample Word document and sample PNG logo.

1. Prepare the artwork and upload your document
Use an image you have permission to place in the document. A transparent PNG usually works well for a logo: it preserves clear space around the artwork without adding a white rectangle. JPEG can work for a rectangular picture, but it does not provide a transparent background. The current website accepts PNG, JPEG and WebP files up to 5 MiB.
Avoid enlarging a tiny logo to cover the page; its edges may become soft. Remove unnecessary margins in your image editor, or use the crop controls later. Keep the source image so that you can replace it if the first result is too faint or too detailed.
Upload the Word file first. Wait for its Uploaded status before converting, and enter its opening password in the file row if needed.

2. Choose Custom and Image watermark
Select Custom watermark, then Image watermark. Custom mode provides an explicit width, opacity and position for this example. Standard image mode is also available when you only need automatic sizing or scale plus washout.


Click the image upload area or drop your picture onto it. Confirm the thumbnail and filename, then wait for Uploaded. Replace image chooses a different file; removing an image does not turn the configuration into a text watermark.

3. Set one dimension to preserve the logo's shape
Under Image sizing, choose Set width. Enter 300 pt for this sample. The height follows the original aspect ratio, so a circular emblem stays circular and lettering is not stretched.


The screenshot shows where to enter the value; set it to 300 pt for this recipe. Choose Set height instead if your design is constrained by height. Use Set width and height only when you intentionally want independent dimensions or know the correct ratio. Original size uses the image's own sizing information and is not a promise to fill the page.
4. Position the image and reduce its opacity
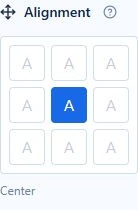
Choose Page as the placement area and Center in the alignment grid. Leave Rotation at 0° so the logo remains level. These settings describe placement on the document page, not which sections receive the mark.


Set Opacity to 25%, and leave Behind document text selected. This is a starting point for the sample logo. Your artwork may need a different value, especially if it has thin lines or very dark areas. Above document text can obscure content, so use it deliberately rather than as a way to make a faint logo stronger.


Choose Single watermark, leave Shadow off, and use All active types under Section & header/footer scope. For brightness, contrast, grayscale, individual crop edges, repeating patterns and shadows, consult the complete illustrated settings reference.
5. Save, convert and inspect the actual copy
Select Add watermark, then review the saved image item in Ready to convert. Select Convert files when all uploads are complete. Each input document receives its own result; download the successful copy and open it in Word.


The page below was rendered from the converted DOCX produced with this recipe. It is real output, unlike the editor's sample-page preview.
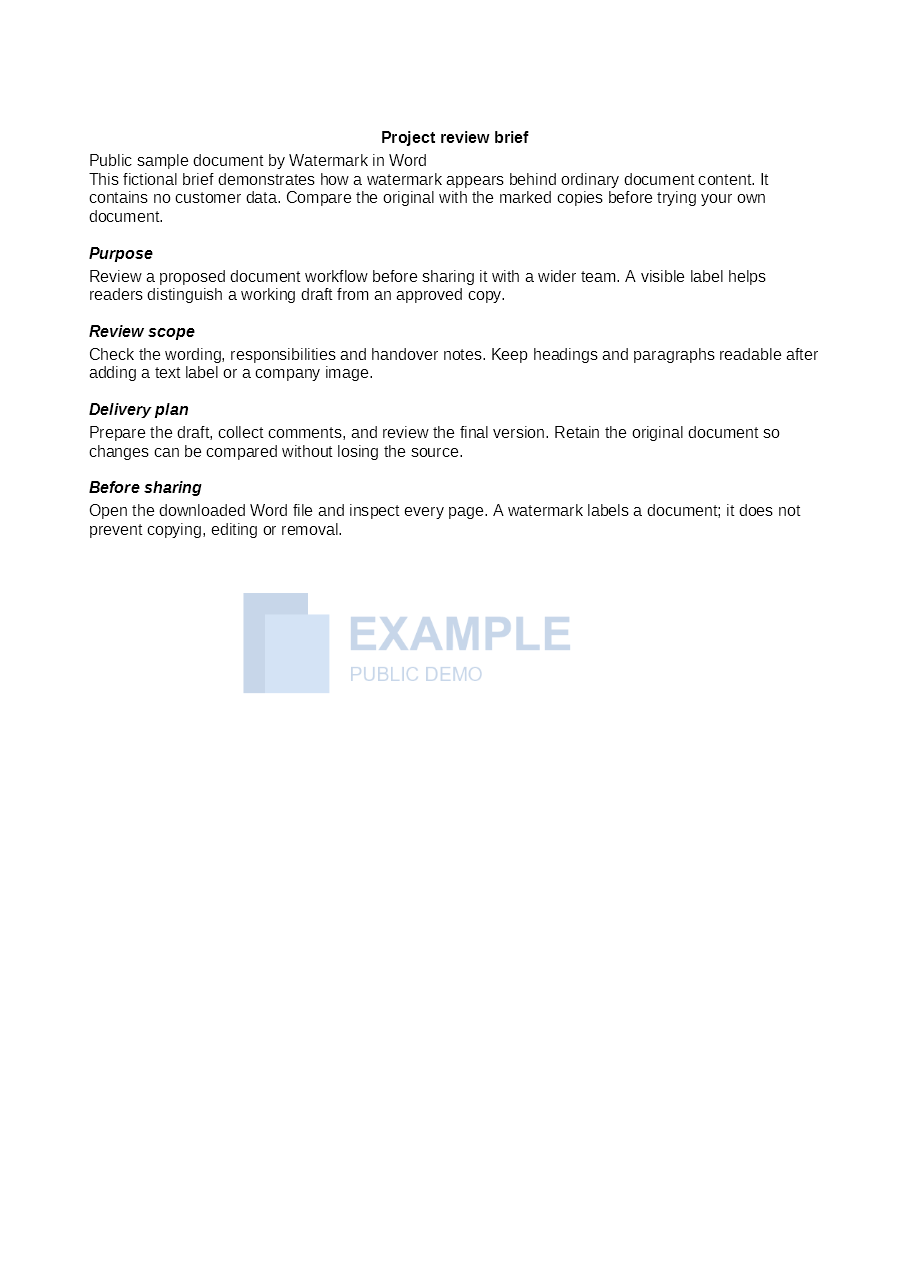
Download the marked Word example and compare it with the original. Check logo proportions, paragraph readability and placement on later pages. On your own documents, also inspect tables, section changes and existing headers.
If the result does not look right
- The logo looks stretched: choose Set width or Set height, rather than independent width and height.
- A white rectangle surrounds it: use artwork with a transparent background; opacity does not selectively remove white pixels.
- Fine details disappear: increase opacity slightly, use simpler artwork, or turn off Washout if you chose Standard mode.
- The mark overlaps a header or footer: check Placement area, Alignment and offsets together.
- It is missing on some pages: inspect the document's section and header/footer structure, then review the scope choice.
See conversion troubleshooting for file and password errors. If you prefer to work entirely in the desktop app, follow the Microsoft Word picture-watermark steps.