

Add a watermark to Word online
Follow the illustrated DOC and DOCX workflow, from uploading and entering passwords to saving watermarks, converting and downloading each file.
This guide walks through a complete conversion in Watermark in Word. We will upload a document, create a red DRAFT watermark, save it, and download a marked Word copy. You can follow along with the public example document before using your own files.
The tool currently requires no payment, account or installation. It uploads files for server processing, so review the file handling policy before uploading confidential material. A visible watermark communicates a document's status; it does not encrypt the content or prevent copying.
For one shared text or logo across up to 15 files, use the dedicated batch tutorial. The five-file workflow below describes the homepage editor.
Before you start
Keep an untouched original and decide whether you need a simple document label or more elaborate placement. A standard text watermark is the easiest starting point for DRAFT or CONFIDENTIAL. Choose Custom when you need a specific position, angle, opacity or repeated pattern.
| Item | Current limit |
|---|---|
| Word documents | DOC or DOCX, up to 5 MiB per file |
| Document list | Five files at a time |
| Watermark images | PNG, JPEG or WebP, up to 5 MiB per image |
| Saved configurations | Five watermarks, including at most one standard watermark |
A filename extension is not a conversion: renaming a PDF to .docx will not make it a supported Word document. If Word cannot open your original, repair or export it before uploading.
1. Select your documents
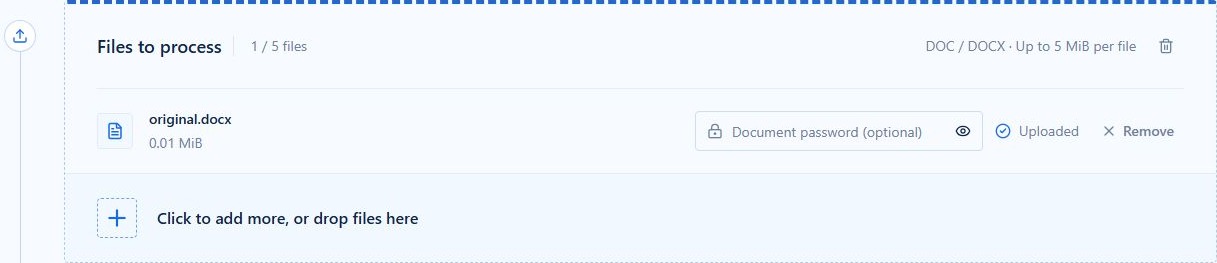
Open the homepage and click anywhere inside the large upload area. Select one or several files in the file picker. You can also drag DOC or DOCX files from your file manager onto that area.

After selection, the area becomes a file list. Wait for each row to show Uploaded. The progress indicator belongs to that file; canceling an unfinished upload or removing a row does not remove another file. To add more documents, use the strip below the list until you reach the five-file limit. The trash icon above the list clears the current selection.
If a document has an opening password
Enter it in Document password (optional) on that document's row. The eye icon reveals or hides the characters so you can check typing. Leave the field empty for a document that does not require an opening password. Passwords are associated with individual file records, including when two files have the same name.
Encryption detection is a helpful warning, not a required step. You can enter a password even when no warning appears. A missing warning does not prove the document is unencrypted. If conversion reports a password problem, correct that same row and retry only that file; the troubleshooting guide shows the process.
2. Choose the watermark mode and content
The settings appear below your files. First choose Standard watermark or Custom watermark, then Text watermark or Image watermark. These are two separate choices: both modes support text and images.


For this first example, stay with Standard watermark → Text watermark. Click DRAFT to populate the text field, or type your own short label. The preset buttons change the wording; they do not save a configuration.

Keep Liberation Sans, the preset red #DC2626, Auto font size, Diagonal layout and Semi-transparent enabled. This creates a prominent review label while keeping the document readable. For precise explanations and a screenshot of every setting, use the illustrated settings reference. For a logo, follow the image watermark tutorial.
3. Check Style preview
The preview changes as you adjust the settings. Single page gives you a larger view of one sample page. Check whether your text is proportioned sensibly and whether its angle or opacity suits the document you plan to share.
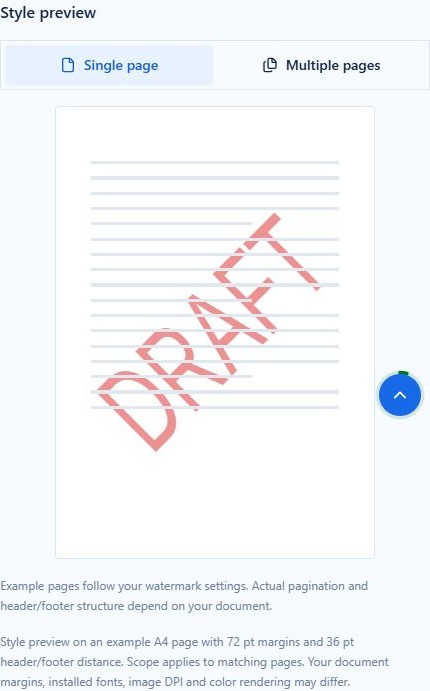
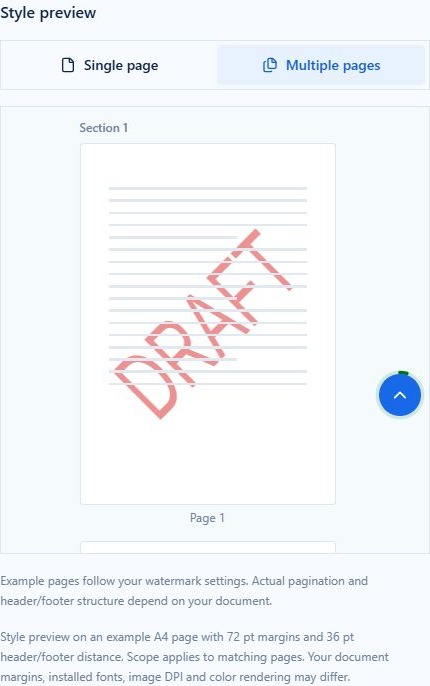
Multiple pages shows a compact sequence of sample pages. This is useful when comparing first-page or even-page scope in Custom mode. It does not read the uploaded document's page count, sections, margins or existing headers. Always check the downloaded Word file before sharing it.
4. Save the watermark, then review the set
Select Add watermark at the bottom of the editor. The saved configuration appears in Ready to convert, with its own preview and Edit/Delete actions. The editor resets for the next watermark. You can save up to five configurations; only one can be Standard because that mode uses the document's standard watermark slot.

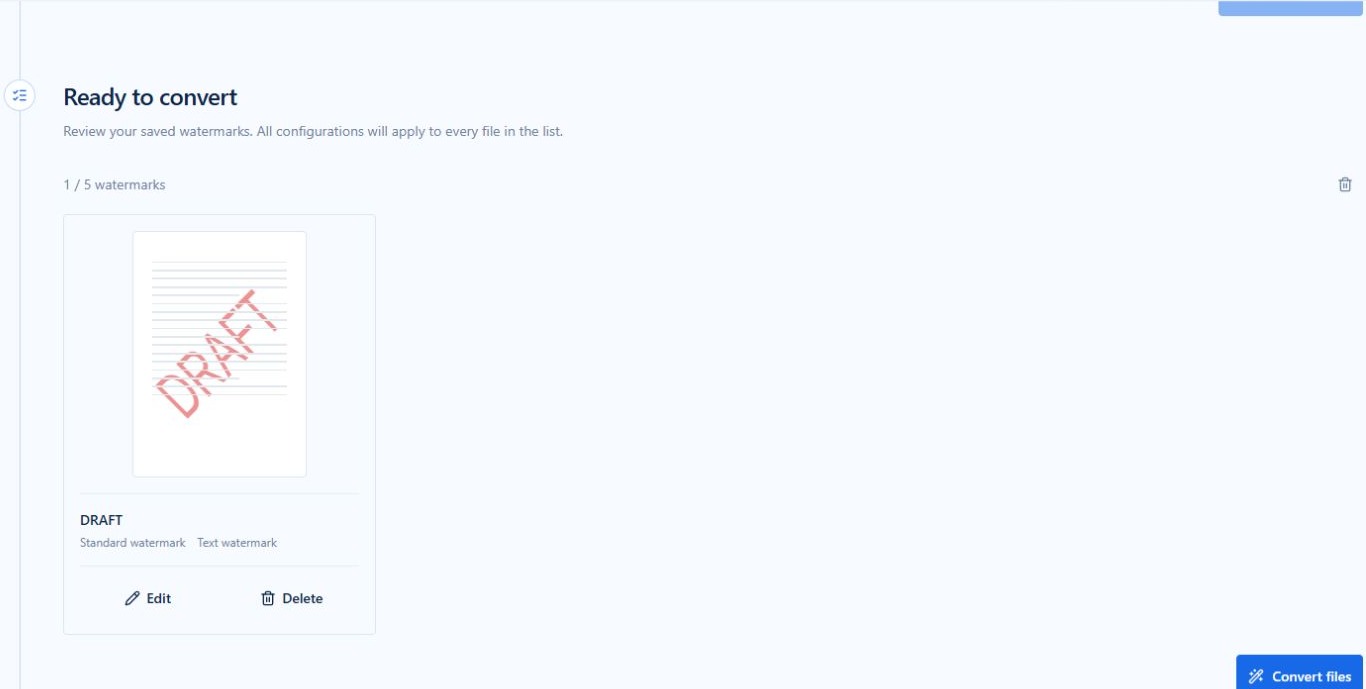
To change an existing item, select Edit on that item. Adjust the controls and choose Save changes. Cancel edit returns to the saved list without applying the draft changes. Editing an item is different from adding a second watermark.

All saved watermarks apply to every document in the upload list. If different files need different labels, process separate batches. Delete an unwanted configuration with its Delete action, or clear the saved set using the trash icon. Clearing configurations does not clear uploaded files or the last conversion results.
5. Convert and download
When the documents and any watermark images have finished uploading, select Convert files. The workspace is temporarily disabled while conversion runs. Each input gets its own result, so you can distinguish a successful file from one that needs attention.

Choose Download for a successful result. Open the copy in Word and inspect the first page, a text-heavy page, tables, page breaks and any section-specific headers. Compare it with your original, particularly if the document uses unusual fonts or complex layout.
Download promptly: output links are temporary, not permanent storage. Routine uploads and results follow the scheduled cleanup described in the Privacy Policy.
6. Make another version or retry one file
You can add documents or change saved watermarks after conversion. The result panel continues to show the previous run until you select Convert files again; that new run replaces the displayed results.
For a failed file, first fix the reported cause. A single-file retry uses that run's saved watermark settings and the file's current password. It does not rerun successful files or pick up newly edited watermark configurations. To apply a different watermark set, start a new conversion instead. See password and conversion troubleshooting for illustrated examples.
Continue with a focused guide
- Every watermark setting, illustrated: fonts, dimensions, colors, placement, tiling, shadows and scope.
- Add a picture or logo watermark: choose an image, preserve its proportions and control its visibility.
- Work in Microsoft Word: desktop instructions with frames from Microsoft's real video demonstration.
- Reproduce the downloadable examples: compare settings with actual DOCX output.