

How to add a watermark in Microsoft Word
Illustrated Microsoft Word instructions for preset, custom text and picture watermarks, with Windows video frames, Mac guidance and troubleshooting.
Microsoft Word's desktop app can place a text label or picture behind a document. This guide follows the Design tab workflow and explains the decisions inside the watermark dialog. Keep an original copy so that you can compare the result or return to an unmarked version.
The Windows images below are real frames from Microsoft's Insert a watermark video. The recording uses an older ribbon appearance; the control names are more useful than the exact colors or icon positions. These are Microsoft Word screens, not screenshots of our online tool. For the website workflow, start with Add a watermark to Word online.
1. Open the watermark menu on Windows
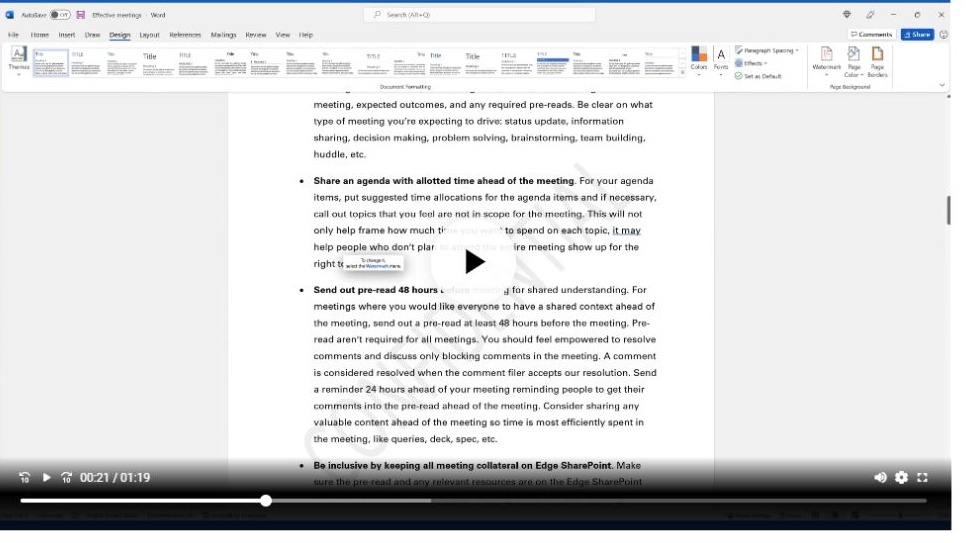
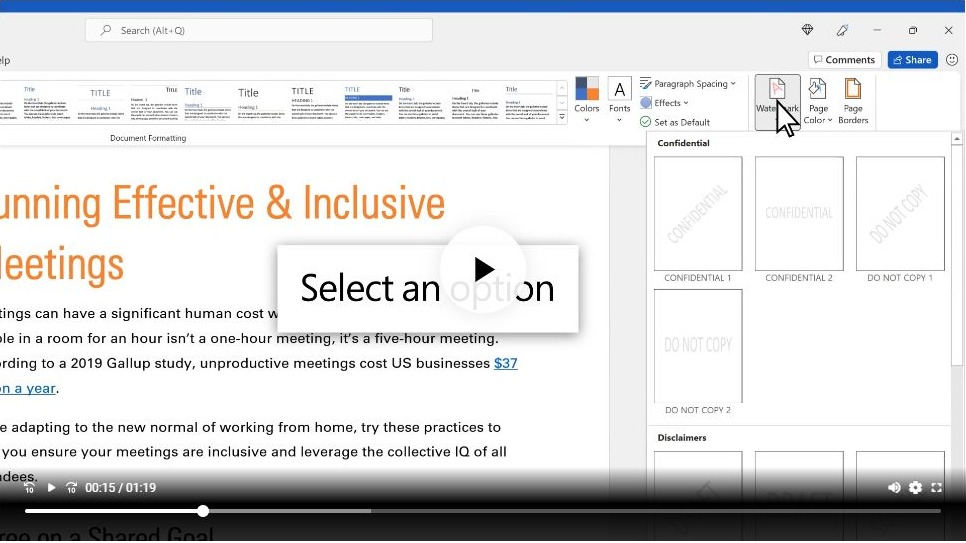
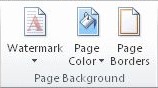
Open your document in the desktop application. Select Design, then find Watermark in the Page Background group toward the right of the ribbon. A narrow Word window can collapse ribbon groups, so expand the group if the command is not immediately visible.
The gallery contains ready-made labels. Select a suitable preset to apply it, then inspect the page before saving. A preset is useful when you want a conventional review label quickly; use the custom dialog when the wording or appearance must change.
2. Create your own text watermark
In the same Watermark menu, choose Custom Watermark, then select Text watermark in the Printed Watermark dialog. Enter the wording in Text. Use a short phrase that still makes sense on its own, such as a draft status, organization name or intended recipient.
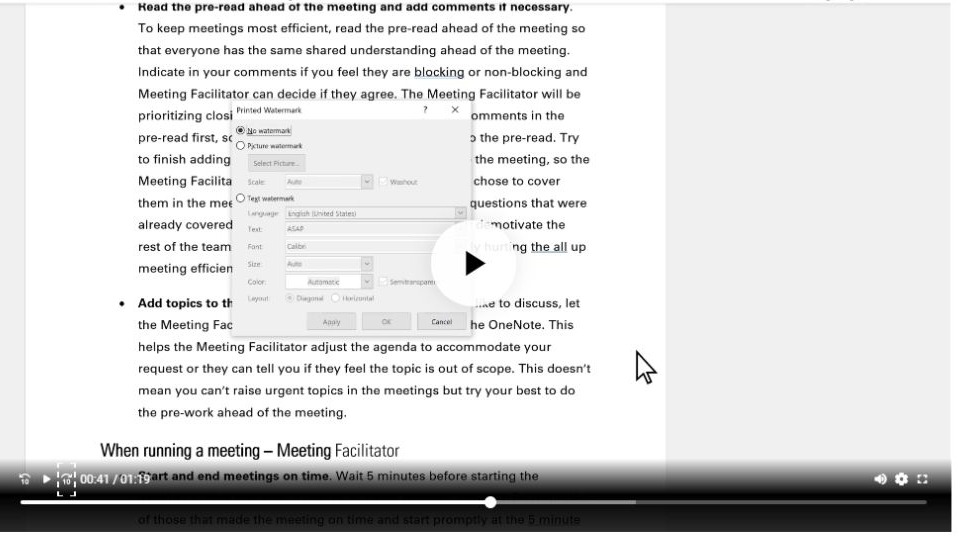
Work through the dialog from top to bottom. The controls belong to one watermark; changing the font does not require creating a separate mark.
| Option | What to check |
|---|---|
| Language | The language used for the dialog's suggested wording; still proofread your entered text. |
| Text | The exact label printed across the page. Replace a suggested label with your own wording if needed. |
| Font | Choose a family with the characters your label needs. Consider the computers on which the document will be opened. |
| Size | Use Auto for automatic sizing, or an explicit point size when you need a particular text size. |
| Color | Choose a color visible against the document without competing with the body text. |
| Semitransparent | Keep it enabled for a fainter text watermark behind ordinary content. |
| Layout | Choose Diagonal for a stamp-like label or Horizontal for level wording. |
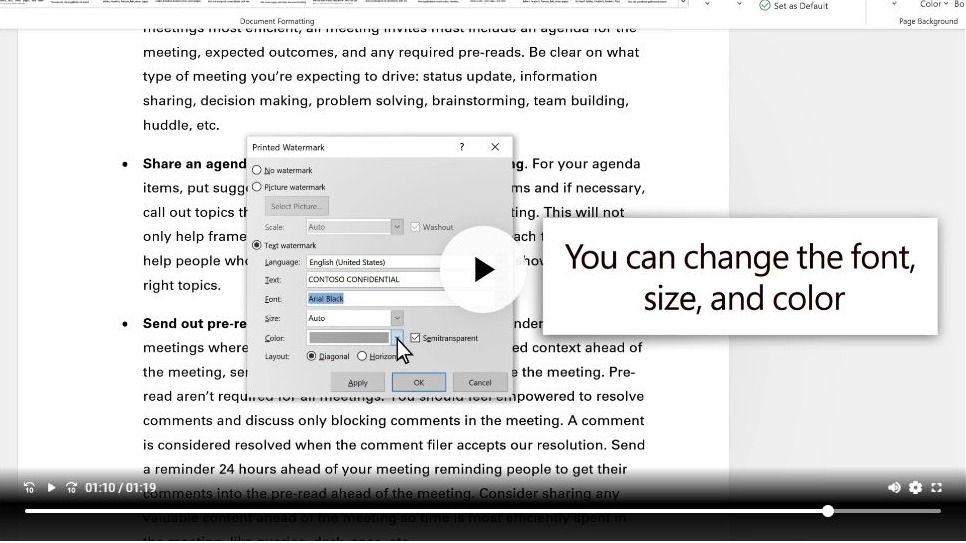
Select OK to apply the settings and close the dialog. Check the actual page, including a paragraph beneath the watermark. If the label is too strong, reopen the dialog and reconsider its color, size or semitransparency. Saving the document preserves the change; use a new filename if you want to retain your unmarked original.
These desktop controls are documented by Microsoft in Use a custom watermark. The online tool's Standard text mode is the closest starting point; its Custom mode has a different set of shape controls.
3. Insert a logo or picture
Return to Design → Watermark → Custom Watermark. Choose Picture watermark, then Select Picture and select your artwork. In versions that show several image sources, choose the source where your file is stored, then confirm the selection.
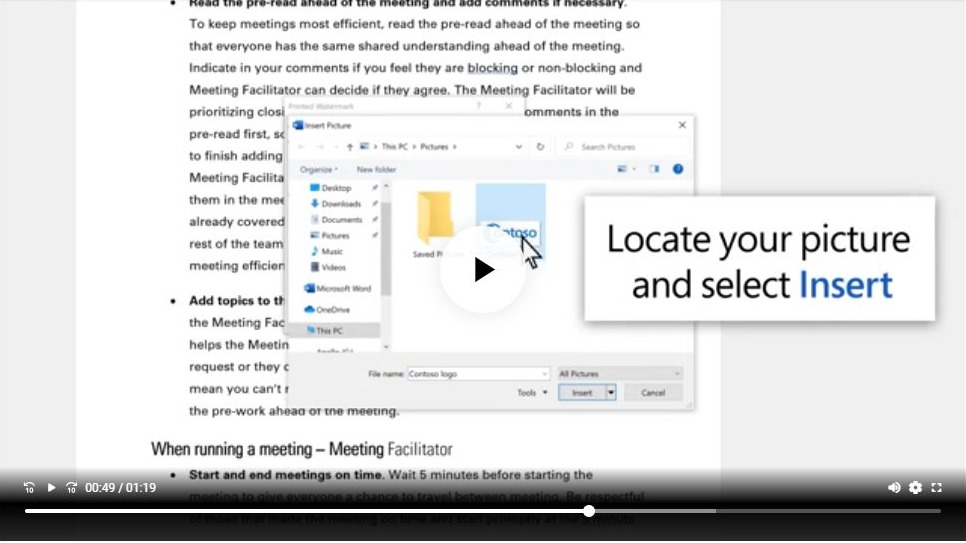
Set Scale to control the picture's size. Auto is a reasonable first check, but it may not produce the exact width you intended. Washout makes the picture fainter. If your logo already uses very light colors, compare the result with washout disabled so its details do not disappear.
Select OK, inspect the document, and save a copy. Check that the logo has not become distorted and that any white image background does not create an unwanted rectangle behind your text. A transparent PNG is useful when the artwork should blend with the page.
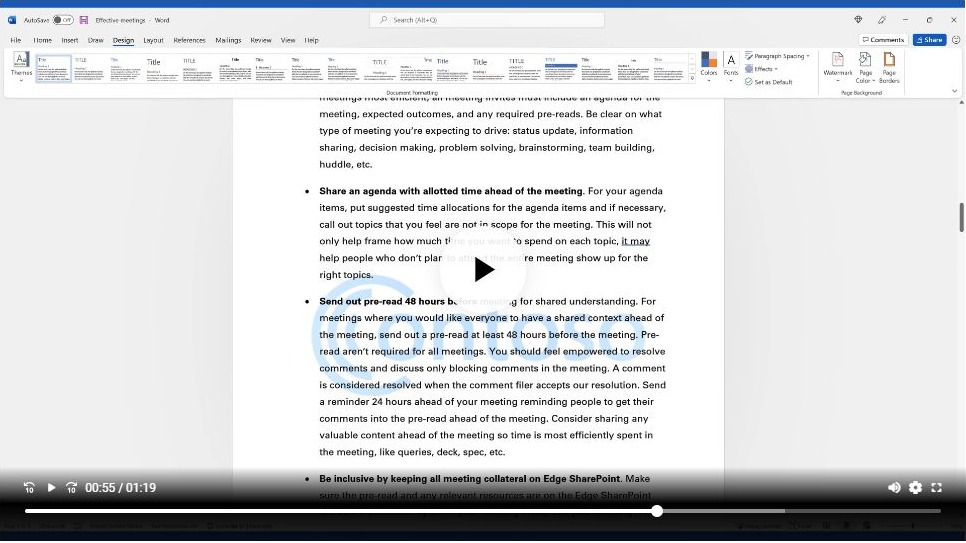
Microsoft's picture watermark instructions cover this workflow. To use a logo in our browser tool instead, follow the illustrated image guide.
4. Check the document in Print Layout
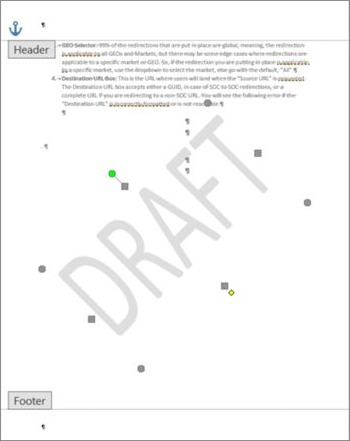
If you cannot see the mark, switch to View → Print Layout. Review more than one page, particularly when the document contains section breaks, a different first-page header or separate odd/even headers. A watermark can be associated with the header even though it is displayed across the middle of the page.
To select a watermark that cannot be clicked in ordinary body editing, open the header by double-clicking near the top of the page, then select the watermark object. Avoid moving other header objects while adjusting it. For a mark that appears only in some sections, inspect that section's header settings before inserting another copy on top.
Microsoft Word for Mac
On Mac, open Design → Watermark. The Insert Watermark dialog uses Text and Picture choices rather than matching every Windows dialog detail. Choose Text and configure the wording and appearance, or choose Picture and select the image. Apply the dialog, then use Print Layout to inspect it. Follow the labels in your installed version; the Windows video frames above should not be treated as Mac screenshots.
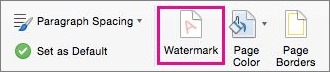
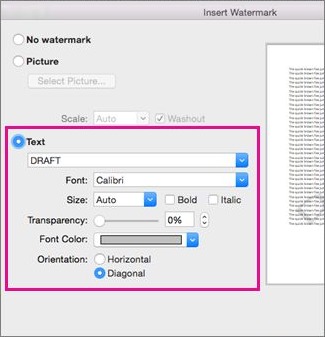
Microsoft provides Mac-specific screenshots and steps on its Insert a watermark page. Select the macOS tab on that page.
Microsoft Word for the web
Word for the web displays existing watermarks but does not provide the desktop insertion and editing workflow described above. Open the document in the desktop app to make those changes, or download a DOC/DOCX copy and use the online watermark workflow. Do not upload content that your organization's rules require you to keep local.
Remove a watermark when the draft becomes final
In desktop Word, use Design → Watermark → Remove Watermark. If a mark remains, inspect the header where that object is stored and check other sections. Removing one watermark object is not a guarantee that every section has been cleared. Microsoft explains both approaches in Remove a watermark.
Before you share the copy
Check the first page, later sections, tables, images and print preview. A watermark is a visible label, not an access control. It does not prevent someone with editing access from changing the document or removing the mark.
Microsoft Word screenshots: Used with permission from Microsoft. Video and Mac image source: Microsoft Support; screenshot-use guidelines. No Microsoft affiliation or endorsement is implied.